Installing vertical vinyl siding can transform your home’s exterior while providing excellent protection from the elements. This comprehensive guide walks you through the complete installation process, covering everything from initial preparation to final finishing touches. You’ll learn about the tools and materials needed, proper installation techniques, and expert tips to ensure your project delivers professional-quality results that enhance your home’s curb appeal and value.
Key Takeaways
- Modern Aesthetic: Vertical vinyl siding creates clean, vertical lines, making homes appear taller and more modern, ideal for contemporary and farmhouse styles.
- 7-Step Process: The installation requires a detailed 7-step approach on how to install vertical vinyl siding, ensuring a professional finish.
- DIY Mistakes: Common errors to avoid with vertical vinyl siding include over-tightening fasteners (causing buckling) and failing to allow adequate room for thermal expansion.
- Key Benefits: Vertical vinyl siding offers longevity (20-30 years), superior weather resistance, and low maintenance.
- Professional Maintenance: Long-term care involves simple annual cleaning with mild detergent and regular visual inspections to identify loose panels or damaged trim.
What Is Vertical Vinyl Siding?

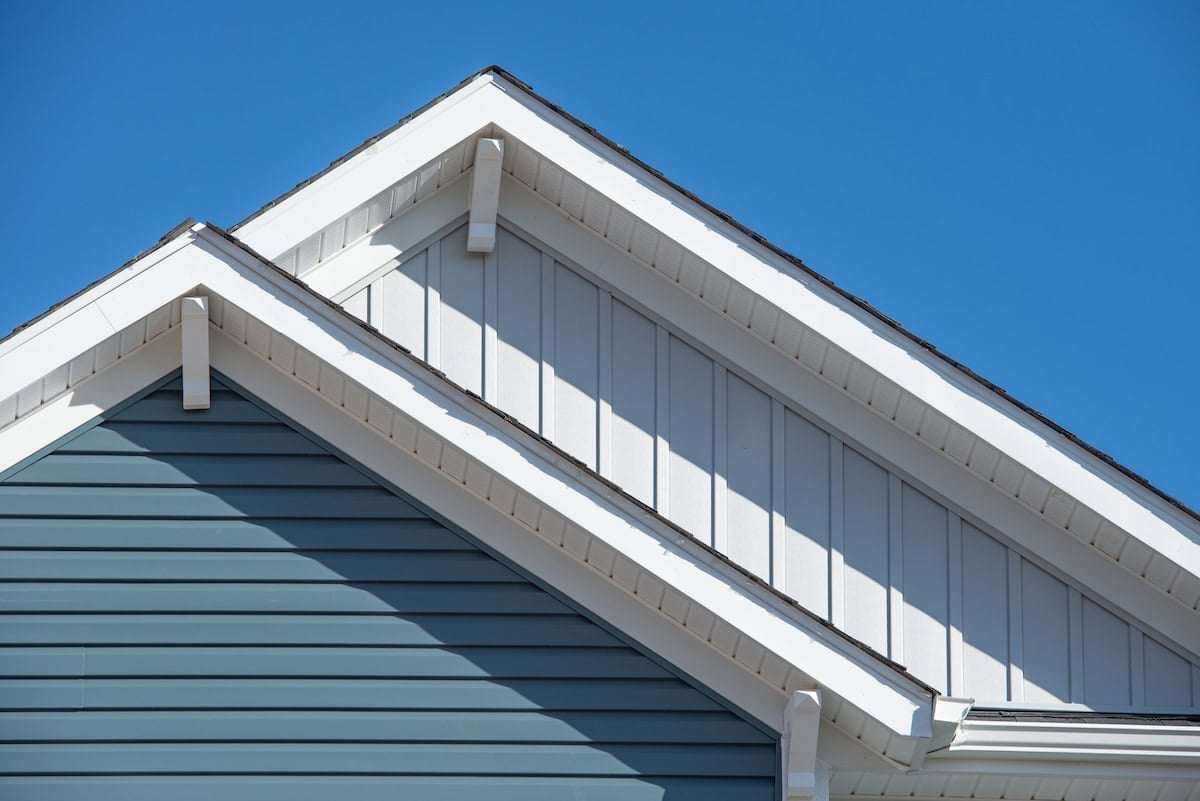
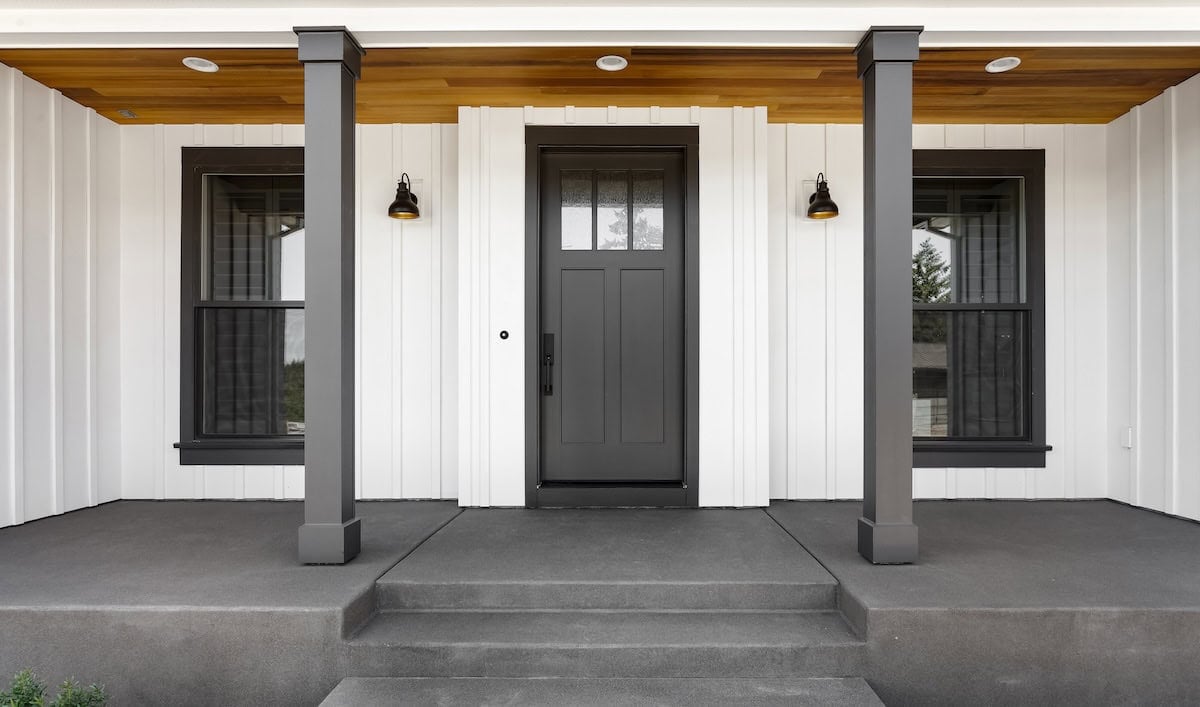
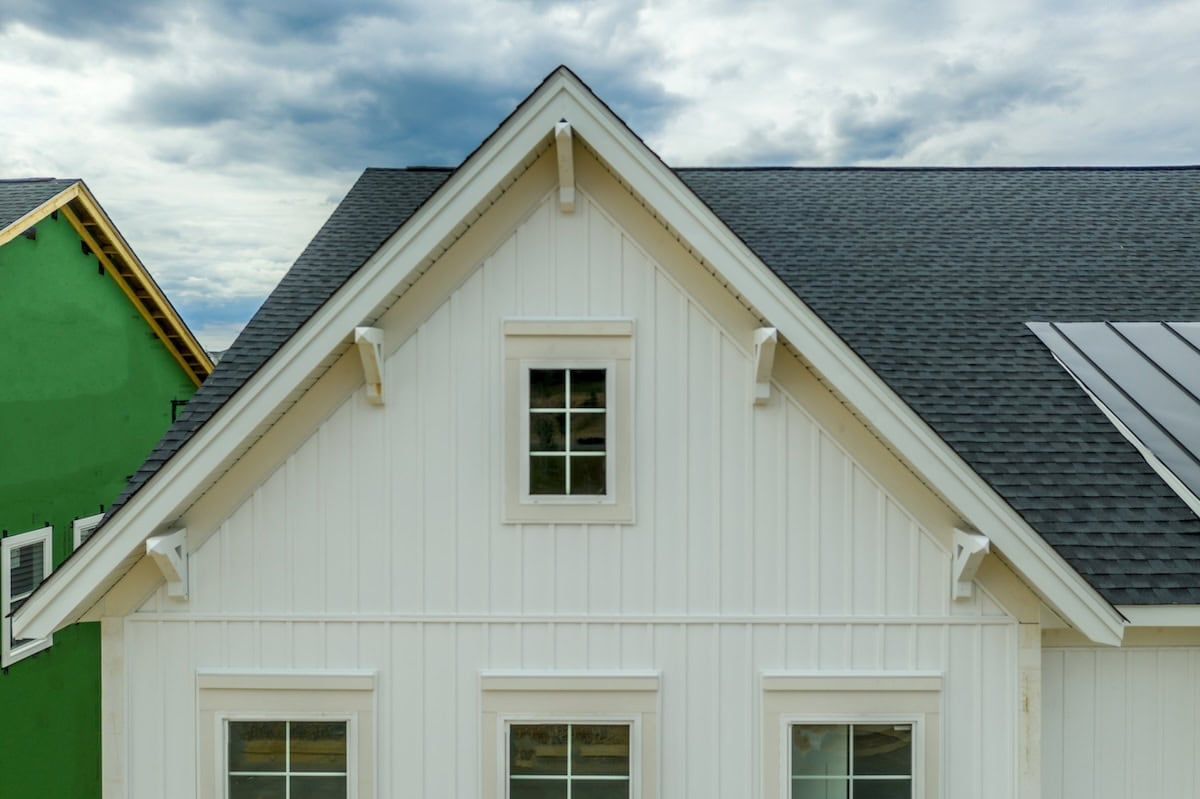
Vertical vinyl siding consists of long, narrow panels that run from your home’s foundation to the roofline. Unlike traditional horizontal siding, these panels create clean vertical lines that can make your home appear taller and more modern. The siding is manufactured from durable PVC materials that resist moisture, insects, and weather damage.
This siding style works particularly well on contemporary homes, cabins, and accent walls. Many homeowners choose vertical vinyl siding for its long-lasting durability, low maintenance requirements and ability to complement various architectural styles. The panels interlock securely, creating a weatherproof barrier that protects your home’s structure.
Benefits of Choosing Vertical Vinyl Siding
Vertical vinyl siding offers several advantages over other exterior materials. The installation process is more straightforward than many alternatives, making it an excellent choice for both professional contractors and experienced DIY enthusiasts.
- Durability and longevity rank among the top benefits. Quality vertical vinyl siding can last 20-30 years with minimal maintenance. The material won’t rot, warp, or attract insects like wood siding. It also resists fading when you choose products with UV-resistant additives.
- Cost-effectiveness makes this option attractive to budget-conscious homeowners. Vinyl siding typically costs less than wood, fiber cement, or metal alternatives. The lower installation costs and reduced maintenance requirements provide additional long-term savings.
- Weather resistance protects your home from rain, snow, wind, and temperature fluctuations. Properly installed vertical vinyl siding creates an effective moisture barrier that prevents water damage to your home’s structure.
7 Steps to Install Vertical Vinyl Siding

Installing vertical vinyl siding correctly is essential for protecting your home from the elements while enhancing its curb appeal. Following the right steps ensures a durable, professional-looking finish that lasts for years.
Essential Siding Tools and Materials
- Hand tools and power tools
- Circular saw or miter saw for cutting tasks
- Chalk line for straight installation guidelines
- Hammer, drill with bits, utility knife, level, tape measure, and tin snips for trimming
- Safety equipment
- Safety glasses and work gloves
- Proper ladder safety techniques
- Scaffolding for safer access on multi-story homes
1. Install the Starter Strip
Begin at the bottom of your wall by installing a level starter strip. This horizontal piece provides the foundation for your first row of vertical panels, crucial for achieving that classic board and batten siding look. Use a chalk line to mark a perfectly level line around your home’s perimeter, typically 6-8 inches above ground level.
Secure the starter strip with appropriate fasteners every 12-16 inches. Leave small gaps between strip sections to allow for thermal expansion. Double-check that your starter strip is level, as any deviation will affect the unique, distinctive look of your board and batten installation.
2. Set Up Corner Posts and J-Channels
Install corner posts at all exterior corners before hanging any siding panels. These posts ensure clean, finished edges and help panels fit properly at corners, ideal for creating a polished board and batten siding finish. Make sure corner posts are plumb and securely fastened.
Install J-channels around windows, doors, and other openings to create neat edges and direct water away from vulnerable areas. For a freshly painted wood aesthetic, cut the channels precisely and miter the corners to keep the finish clean and professional.
3. Install the First Panel
Start your first vertical panel at one corner, ensuring it engages properly with both the starter strip and corner post. This step is essential to create the distinct batten siding appearance. The panel should move slightly when pushed, which indicates proper fit without over-tightening.
Secure the panel with fasteners placed in the center of the nail slots, leaving about 1/32 inch of space to allow for thermal movement. This prevents buckling and keeps your installation looking flawless.
4. Continue Panel Installation
Work systematically across each wall, installing panels one at a time. Each panel should interlock securely with the previous panel while maintaining proper alignment. Check periodically with a level to ensure panels remain plumb, as this is key to achieving a consistent board and batten look.
Maintain consistent spacing between fasteners and avoid over-driving them. Panels should hang from the fasteners rather than being tightly secured against the sheathing.
5. Cut Panels for Openings
Measure carefully when cutting panels to fit around windows, doors, and other openings. Use sharp tools to ensure clean cuts that won’t crack or splinter the vinyl material. File rough edges smooth to prevent stress concentrations and maintain the freshly painted wood aesthetic.
Install cut panels the same way as full panels, ensuring proper engagement with J-channels and adequate room for thermal expansion.
6. Install Upper Courses
Continue installing vertical panels course by course, working your way up the wall. Consistent overlap between courses is key to achieving the timeless board and batten style. Check alignment regularly to ensure each course is level and properly secured.
Pay special attention to maintaining consistent exposure — the visible portion of each panel should be uniform across the entire installation, contributing to a unique and distinctive look.
7. Complete Top Edge and Trim
Finish the top edge with appropriate trim pieces, such as finish trim or soffit integration, depending on your home’s design. Ensure all edges are properly sealed to protect against weather infiltration.
Install any remaining trim around windows, doors, and other features, keeping the batten siding neat and cohesive. Step back periodically to evaluate the overall appearance and make adjustments as needed to achieve a polished, professional result. For guaranteed quality and expert finishing on your siding project, trust the professional contractors in the Raleigh area.
Common Installation Mistakes to Avoid
Understanding common mistakes helps you achieve better results with your vertical vinyl siding project. Many installation problems stem from rushing through critical steps or ignoring manufacturer guidelines.
- Over-tightening fasteners ranks among the most frequent errors. Vinyl siding must be able to move as temperatures change. Driving fasteners too tightly prevents this movement and can cause panels to buckle or crack.
- Inadequate preparation leads to various problems down the road. Skipping house wrap installation, failing to repair damaged sheathing, or not ensuring level starter strips creates issues that become apparent later.
- Improper cutting techniques can crack panels or create rough edges that collect dirt and moisture. Always use sharp tools and support panels properly when cutting to prevent damage.
Maintenance Tips for Long-Lasting Results

Proper maintenance extends your vertical vinyl siding’s life and keeps it looking its best. Fortunately, vinyl siding requires minimal upkeep compared to other exterior materials.
- Annual cleaning removes dirt, mildew, and other deposits that can stain or damage your siding. Use a soft brush or cloth with mild detergent and water. Avoid abrasive cleaners or high-pressure washing that might damage the material.
- Regular inspections help you identify small problems before they become major issues. Check for loose panels, damaged trim, or areas where caulk needs refreshing. Address problems promptly to prevent water infiltration or further damage.
- Gentle repairs can fix minor damage without replacing entire panels. Small cracks or holes can often be repaired with appropriate patching materials designed for vinyl siding.
Trust K&D Roofing for Your Siding Needs
The choice between panel orientations is a critical design decision, and understanding what vertical vinyl siding can achieve is essential. This contemporary style instantly conveys a distinct architectural mood, making the decision primarily about the aesthetic you wish to project.
- Vertical Siding (Modern Aesthetic): This orientation creates a sleek, contemporary, and often dramatic look. The eye is drawn upward, emphasizing height and sharp lines. This style is most commonly achieved using vertical vinyl siding in the popular board-and-batten profile.
- Horizontal Siding (Traditional Aesthetic): This is the classic, time-honored look that maintains a sense of stability and traditional warmth. This profile is found on most traditional, craftsman, and ranch-style homes.
Ultimately, the right choice depends on the aesthetic you wish to achieve. For homeowners seeking a bold, modern exterior that maximizes curb appeal, investing in vertical vinyl siding provides the perfect solution, guaranteeing a dramatic, low-maintenance look that defines your home’s architectural style.
Trust K&D Roofing for Your Siding Needs
When it comes to vertical vinyl siding installation, K&D Roofing is the team you can trust to deliver superior results. With years of experience serving the Raleigh area, we’ve built a reputation for unmatched craftsmanship, attention to detail, and exceptional customer care. Our licensed contractors bring deep expertise in siding installation, always adhering to local building codes and best practices. From selecting the highest-quality materials to ensuring flawless installation, we handle every project with precision and professionalism.
Plus, our GAF Master Elite Certification and full insurance coverage are a testament to our commitment to excellence and your peace of mind. If you’re ready to elevate your home’s exterior, contact K&D Roofing today for a free consultation. Let us show you why we’re Raleigh’s trusted choice for siding and roofing projects!