
Homeowner TipsMay 12, 2026
5 Signs You Need a New Roof (Raleigh Homeowner's Guide)
Not sure if your roof needs replacing? Here are the 5 warning signs every Raleigh homeowner should watch for — from a GAF Master Elite contractor.
Read MoreNot sure if your roof needs replacing? Here are the 5 warning signs every Raleigh homeowner should watch for — from a GAF Master Elite contractor.
Read More
Don't hire a roofer without checking these 10 things first. A Raleigh roofing contractor's honest guide to avoiding scams and getting quality work.
Read More
FORTIFIED roofing is the only roof scientifically proven to survive hurricanes. Learn about IBHS certification, the 3 upgrades, cost, insurance savings, and how…
Read More
NC storm season is coming. Learn how to prepare your roof, spot storm damage, navigate insurance claims, and protect your Raleigh home before it's too late.
Read More
Only 2% of roofers earn GAF Master Elite certification. Learn what it means, why it matters, and how it protects your Raleigh home with the strongest warranty i…
Read More
What does a new roof cost in Raleigh? Get real 2026 pricing for shingles, metal, and flat roofs from a local GAF Master Elite contractor.
Read More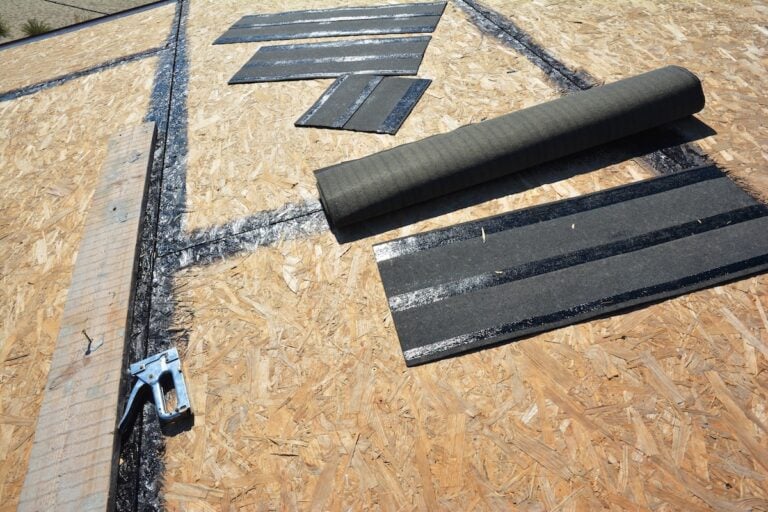
When it comes to the health of your roof, what lies beneath your shingles is just as important as the materials you see. Your roof decking forms the foundation …
Read MoreWhen it comes to protecting a commercial building, choosing the right roofing material is a major decision. With so many products available today, understanding…
Read More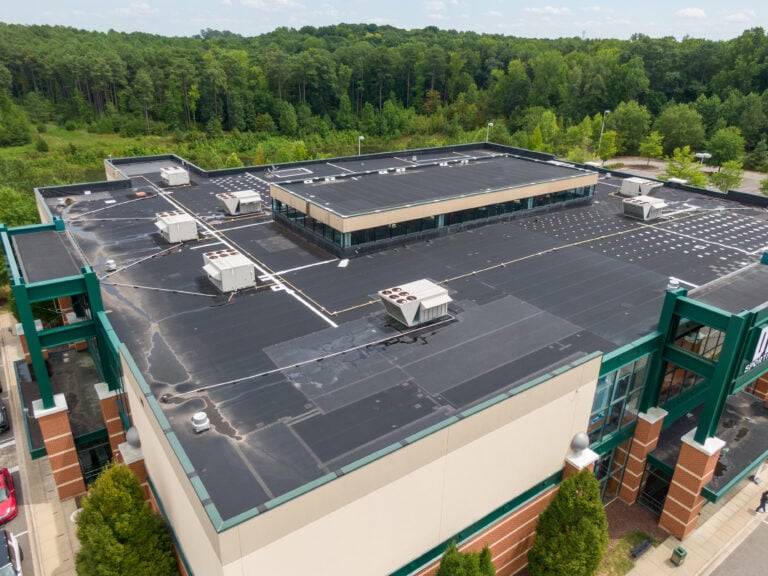
If you’re managing a commercial property, few decisions are as important as the roof system you choose. It affects everything from energy efficiency to maintena…
Read More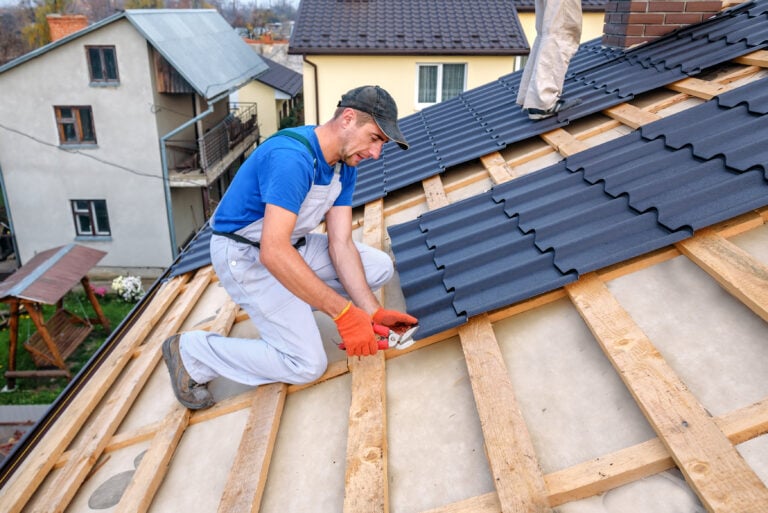
Metal roofing has gained popularity for its durability, efficiency, and long-term value. Whether you’re building a new home or upgrading an old roof, understand…
Read More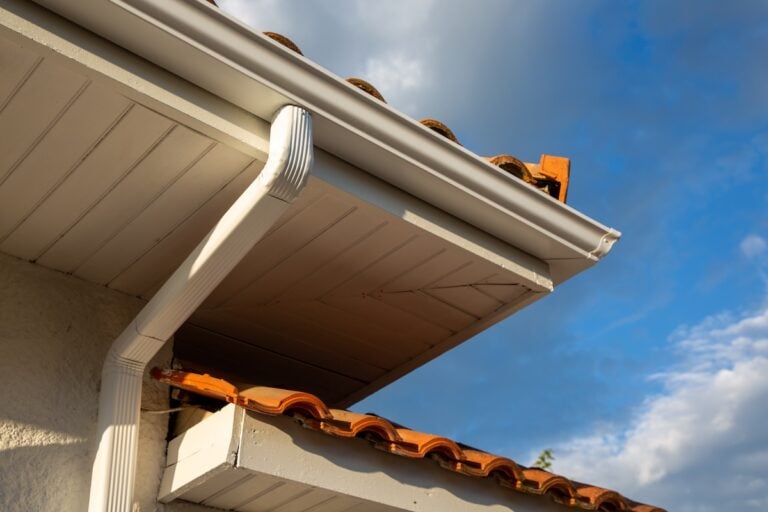
Gutters are one of those systems that most homeowners don’t think about until something goes wrong. When functioning properly, they redirect water away from you…
Read More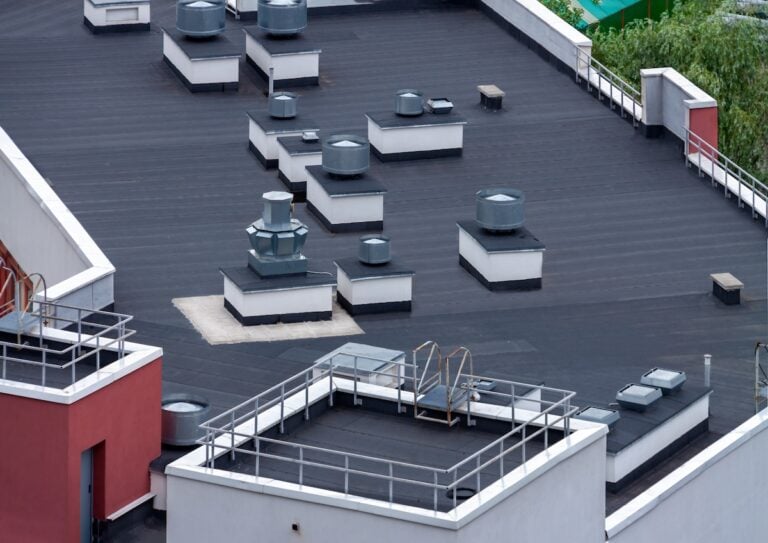
When it comes to protecting a commercial building, few systems perform as effectively as a membrane roof. Known for their strength, flexibility, and energy effi…
Read MoreNo pressure. No gimmicks. Just honest roofing from a local company that's been here since 2017.
Call or Schedule Online
Free Roof Inspection
Detailed Estimate in 24hr
We Build Your Roof
You Sleep Better