Installing gutters might seem like a big task, but with the right tools and guidance, many homeowners can tackle this important home improvement project. Proper gutter installation protects your home from water damage, prevents erosion around your foundation, and maintains your property’s value. This comprehensive guide will walk you through everything you need to know about how to install gutters safely and effectively.
We’ll cover all the essential information for successful gutter installation, including:
- Understanding gutter systems and their importance
- Step-by-step installation process
- Common mistakes to avoid
🔎 Understanding Gutter Systems and Their Importance
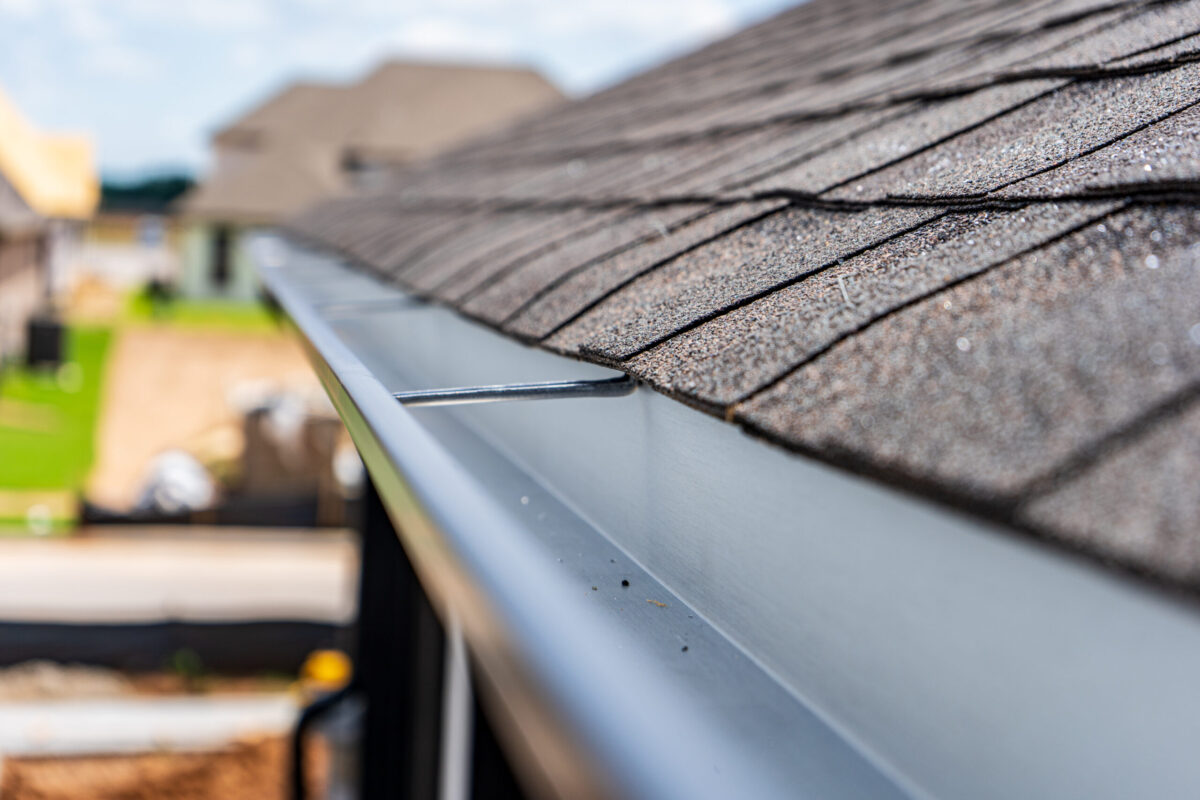
Before learning how to install gutters, you need to understand why they’re so important for your home’s protection. Gutters collect rainwater from your roof and direct it away from your foundation. This prevents costly water damage to your basement, crawl space, and landscaping.
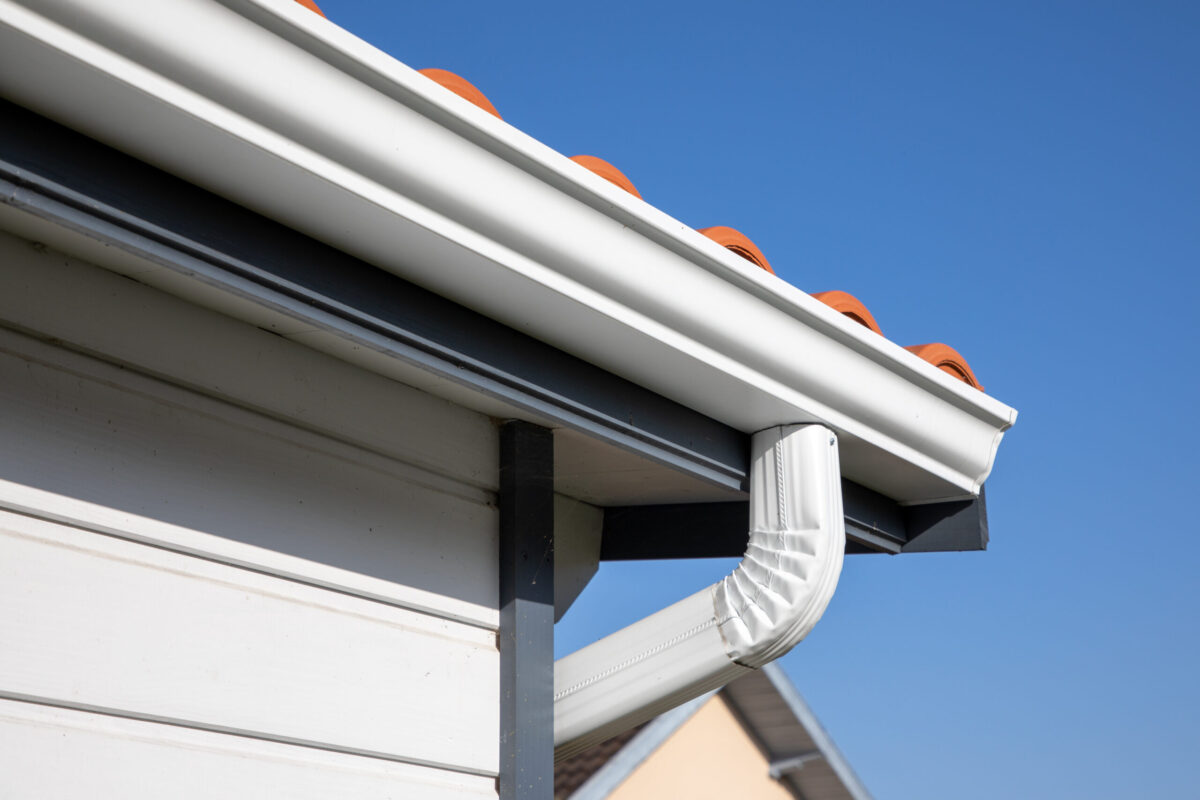
A properly installed gutter system includes several key components that work together. The gutters themselves, downspouts, hangers, end caps, and connectors create an efficient water management system. Each piece handles your area’s typical rainfall and protects your home investment.
Types of Gutter Materials
- Aluminum Gutters: Durable, affordable, rust-resistant, and able to withstand most weather conditions.
- Vinyl Gutters: Low-cost and easy to maintain, ideal for budget-conscious homeowners.
- Steel Gutters: Extremely long-lasting but require regular maintenance to prevent rust.
✅ 8 Step Guide: How to Install Gutters
Properly installing gutters is essential to protect your home from water damage by directing rainwater away from the foundation. This 8-step guide ensures a hassle-free installation process to keep your property safe and dry.
1. Plan Your Layout and Mark the Slope
Start by determining where your gutters will run and where downspouts will be positioned. Gutters need a slight slope toward downspouts to ensure proper water flow. The standard slope is 1/4 inch per 10 feet of gutter length.
Mark the highest point of your gutter run at the corner farthest from the downspout. Use a chalk line to mark the slope, ensuring water will flow properly toward the downspout location. Double-check your measurements before proceeding.
2. Install the Fascia Board (If Needed)
Check your fascia board for damage or rot before installing gutters. A solid fascia board is essential for supporting your gutter system’s weight when full of water during heavy rains.
If your fascia needs repair or replacement, complete this work before proceeding. Use pressure-treated lumber and ensure it’s properly sealed to prevent future moisture damage. This step is crucial for long-term gutter performance.
3. Attach the Gutter Hangers
Begin installing hangers at the marked slope line, starting from the high end. Space hangers according to your gutter material’s requirements. This is typically every 16 to 24 inches, depending on your local weather conditions.
Drill pilot holes to prevent splitting the fascia board. Use appropriate screws for your fascia material, ensuring each hanger is securely fastened and level. Take your time with this step, as properly installed hangers are the foundation of your entire system.
4. Cut and Prepare Gutter Sections
Measure and cut your gutter sections to fit between corners and downspout locations. Use a hacksaw or miter saw with a fine-tooth blade for clean cuts. Accurate cuts ensure proper fit and professional appearance.
File or sand cut edges smooth to prevent injury and ensure proper fit with connectors. Test-fit each section before final installation to avoid problems later in the process.
5. Install the Gutter Sections
Place each gutter section into the installed hangers, ensuring the back edge sits flush against the fascia board. The front edge should be slightly lower than the back to promote proper water flow into the gutter.
Secure gutters to hangers according to manufacturer instructions. Some systems use clips, while others require screws through pre-drilled holes. Follow the specific instructions for your gutter type.
6. Connect Gutter Sections
Join gutter sections using appropriate connectors or overlap joints. Apply gutter sealant to all joints before connecting to prevent leaks. Quality sealant is essential for long-term performance.
Use pop rivets or screws to secure connections, following manufacturer specifications. Wipe away excess sealant immediately for a clean appearance and proper seal formation.
7. Install End Caps and Downspouts
Attach end caps to gutter sections that don’t connect to other runs. Apply sealant around the entire perimeter before securing with rivets or screws. End caps prevent water from flowing out the sides of your gutter system.
Cut downspout outlets in the appropriate gutter sections using a hole saw or jigsaw. Install the outlet fitting and connect your downspout, ensuring it extends at least 6 feet from your foundation to prevent water damage.
8. Test Your Installation
Run water through your new gutter system to test for proper flow and leaks. Check that water flows smoothly toward downspouts without pooling or overflowing. This testing phase helps identify any issues before they become problems.
Make adjustments as needed, adding additional hangers if sections sag or adjusting slope if water doesn’t flow properly. Proper testing ensures your system will perform well during actual storms.
🛠️ Common Mistakes to Avoid During Installation

Many homeowners make preventable mistakes when learning how to install gutters. Understanding these common errors can save you time, money, and frustration.
Slope Problems
Improper slope is one of the most common errors when installing gutters, and it can lead to significant drainage issues. If the slope is too shallow, water will not flow properly and may pool in the gutters, leading to clogs, leaks, and potential damage to your home’s foundation. On the other hand, if the slope is too steep, water may flow too quickly, overshooting corners and missing downspouts entirely. This can result in water spilling over and eroding the ground near your home. To avoid these problems, always take the time to measure and set the slope carefully. Use a level and follow recommended guidelines for the correct pitch—typically about 1/4 inch of slope for every 10 feet of gutter run. Double-check your measurements before attaching the gutters to ensure proper drainage over time.
Inadequate Support
Another common issue is failing to provide adequate support for the gutters. Improper hanger spacing can lead to sagging, especially under the weight of heavy rain or snow. Sagging gutters not only look unappealing but can also cause water to pool and overflow, potentially leading to damage to the fascia, roof, or siding. Over time, this can compromise the structural integrity of your gutter system. To prevent this, always follow the manufacturer’s recommendations for hanger spacing, which typically range from 2 to 3 feet apart, depending on the gutter material. In areas prone to heavy snow or rain, consider placing hangers even closer together for added support. Trying to cut costs by using fewer hangers might save money upfront, but it often results in costly repairs down the line.
Seal Failures
Skipping or improperly applying sealant at gutter joints is a common mistake that can lead to long-term water damage. Joints are naturally vulnerable points where leaks are most likely to occur. Without proper sealing, water can escape and seep into areas where it’s not supposed to go, potentially damaging your home’s foundation, fascia, or landscape. To avoid this, always use a high-quality gutter sealant designed specifically for outdoor use. Apply the sealant generously to all connections, seams, and end caps, ensuring a watertight bond. Take the time to smooth out the sealant for a clean, effective finish. This small step may seem minor, but it’s essential for ensuring your gutter system lasts and functions properly. Investing in sealant now can save you from dealing with expensive repairs later.
🏠 Trust K&D Roofing for Professional Gutter Installation
Installing gutters on your own can be a fulfilling project, but when it comes to ensuring long-term durability and protection for your home, trusting the experts is the way to go. At K&D Roofing, our GAF Master Elite certified team has the experience and expertise to handle your gutter needs with precision and care.
We understand the challenges of North Carolina’s weather and are committed to providing reliable, high-quality solutions that last. Plus, with our strong warranties and ability to work directly with insurance companies, we make the process stress-free for you. Ready to protect your home with the best in the business? Contact K&D Roofing today for a free consultation!!